


Why use Velociraptor in addition to Wazuh
While Wazuh offers robust detection capabilities, its active response functionality is limited to a set of default scripts or custom scripts that must be developed in-house. The need to create a new script in the midst of an ongoing security incident is highly impractical. This limitation presents an opportunity to integrate with a dedicated incident response tool like Velociraptor, a leader in the open-source DFIR space. Combining these two powerful tools can significantly enhance and streamline response actions.
Prerequisites
For this to work you need:
- Working Wazuh environment
- Working Velociraptor installation
- Windows system for testing and binary compilation
- Web-Share
How does an active response work
Active responses can be executed either on the Wazuh server or directly on the monitored endpoint. This article will concentrate specifically on endpoint-level active responses. For these to function correctly, the necessary response script must be present on the client machine. The Wazuh website provides extensive documentation covering default responses and offers templates to assist in creating custom scripts [2].
Action Flow
The following graphic displays the flow of the active response and velociraptor:

- Event on Endpoint
- Agent sends log files to Wazuh
- Wazuh generates an alert
- Alert triggers Active Response "velo-install" on the endpoint via the Wazuh Agent
- velo-install pulls the Velociraptor MSI from the webhost and installs the Velociraptor agent on the endpoint
- velo-agent calls back to the velociraptor server
Creating a Velociraptor installation MSI
First off: There is always up-to-date documentation at https://docs.velociraptor.app/docs/deployment/clients/
As to the publishing of this article, the following steps are required to generate a Velociraptor client MSI for Windows:
- Open Velociraptor GUI / Web-Page
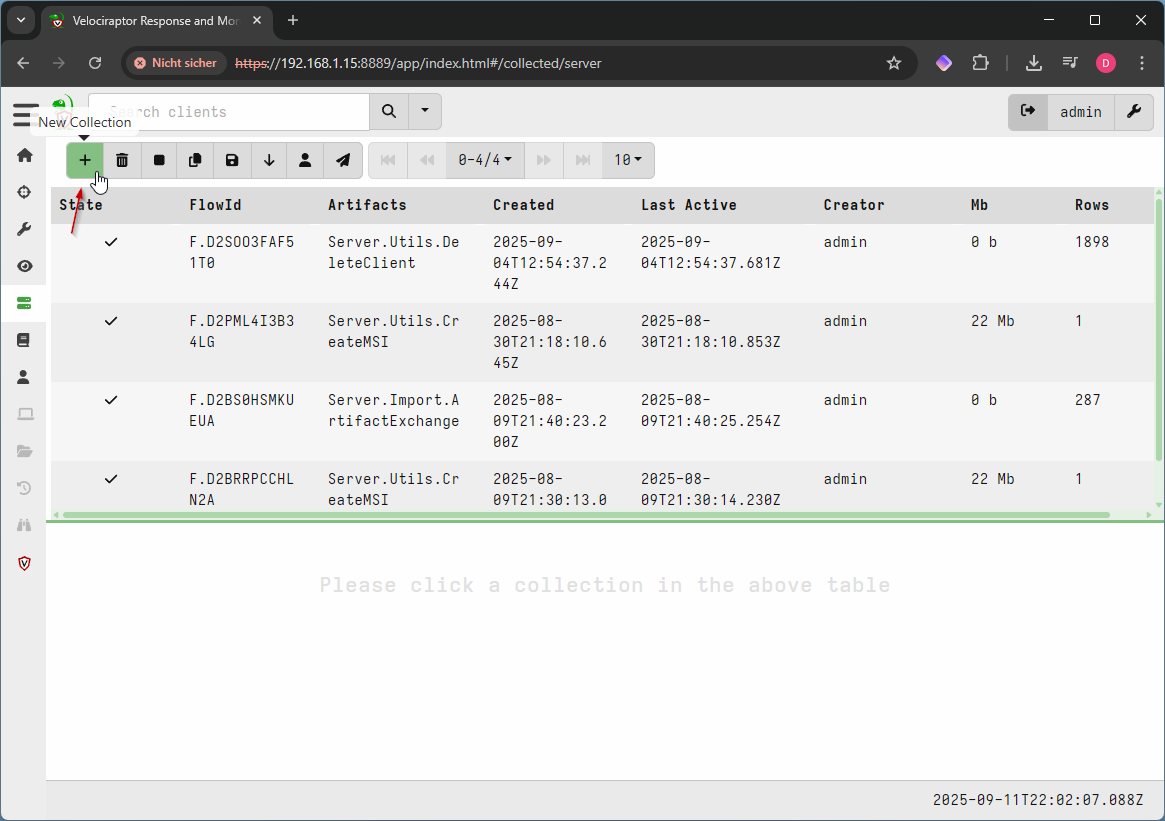
- Choose server artifacts on the left side
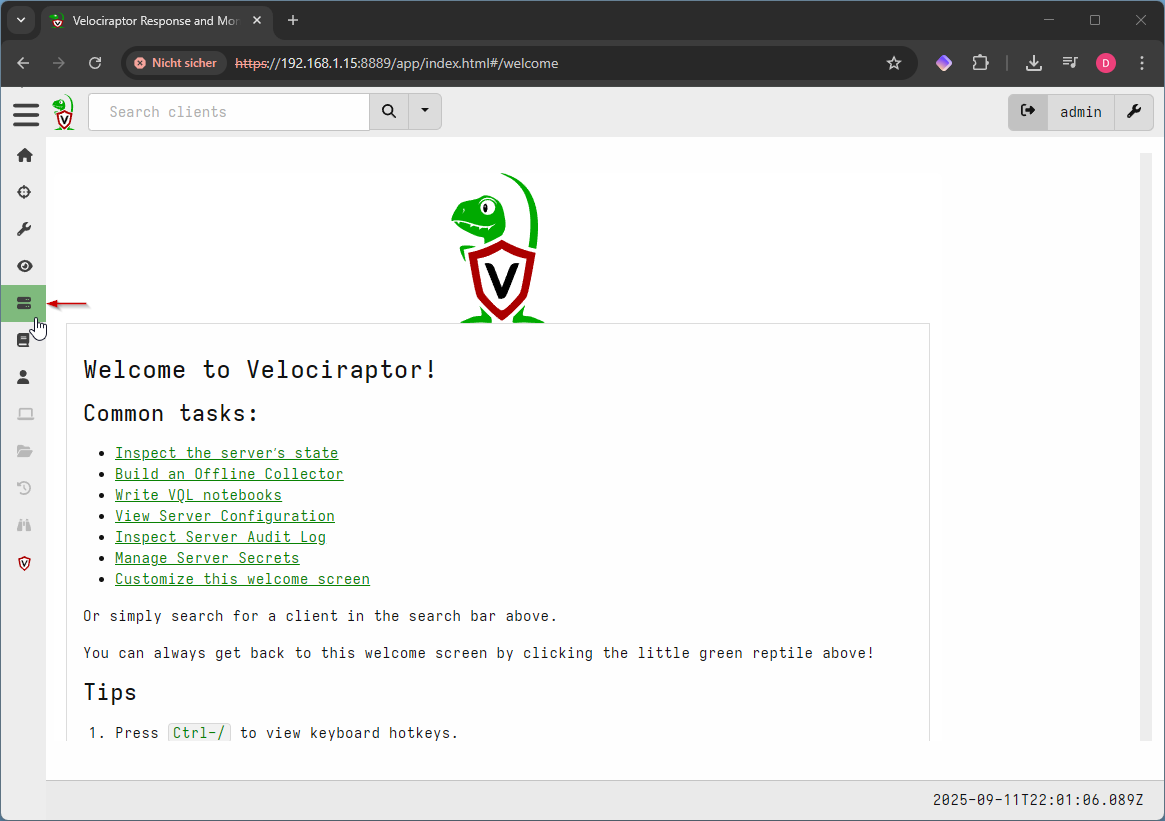
- Add a new collection by pressing the cross icon on the upper menu
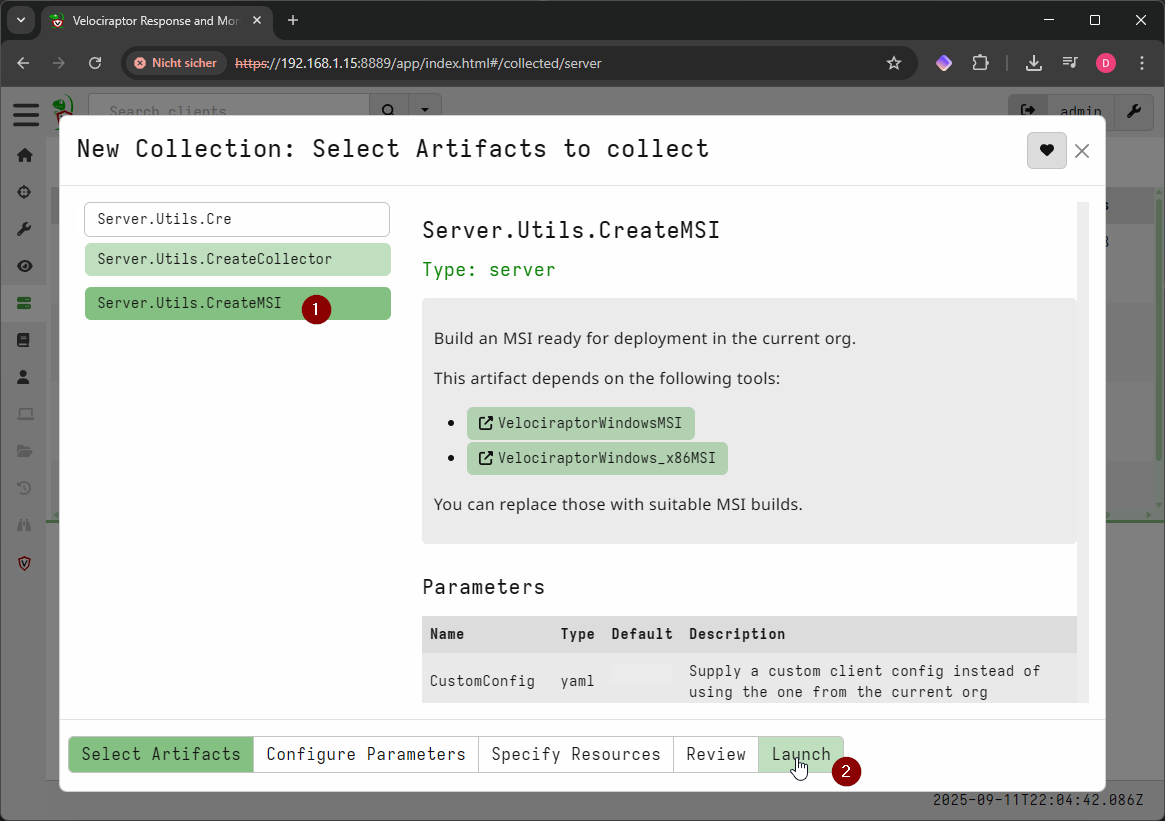
- Search for “Server.Utils.CreateMSI”, select it and click launch
- Select the collection and you will find the MSI placed in the “Uploaded Files”-Tab

After downloading the MSI, move it to the Web-Share. You can simply use Apache, NGINX, or if you want something more complex like chibisafe [6]. Note down the download link and you can go on to the next session.
Source Code “velo-installer”
The following script is based on the wazuh template for custom active response scripts. The link can be found in the sources [2].
Basically, this active response pulls an MSI from a remote location and executes it. This could be easily adapted for other MSIs than the Velociraptor installer MSI.
#!/usr/bin/python3
# Copyright (C) 2015-2022, Wazuh Inc.
# All rights reserved.
# This program is free software; you can redistribute it
# and/or modify it under the terms of the GNU General Public
# License (version 2) as published by the FSF - Free Software
# Foundation.
#
# Modified by sn0b4ll
# Date: 2025-08-15
import sys
import json
import datetime
import urllib.request
import subprocess
from pathlib import PureWindowsPath, PurePosixPath
# Get LOG_FILE from environment variable with fallback to default
LOG_FILE = "C:\\Program Files (x86)\\ossec-agent\\active-response\\active-responses.log"
# Set the link to your custom velo msi here
# Follow https://docs.velociraptor.app/docs/deployment/clients/ for the msi creation
VELO_MSI_URL="<replace with VELO-MSI>"
ADD_COMMAND = 0
OS_SUCCESS = 0
OS_INVALID = -1
class message:
def __init__(self):
self.alert = ""
self.command = 0
def write_debug_file(ar_name, msg):
with open(LOG_FILE, mode="a") as log_file:
ar_name_posix = str(PurePosixPath(PureWindowsPath(ar_name[ar_name.find("active-response"):])))
log_file.write(str(datetime.datetime.now().strftime('%Y/%m/%d %H:%M:%S')) + " " + ar_name_posix + ": " + msg +"\n")
def setup_and_check_message(argv):
# get alert from stdin
input_str = ""
for line in sys.stdin:
input_str = line
break
write_debug_file(argv[0], input_str)
try:
data = json.loads(input_str)
except ValueError:
write_debug_file(argv[0], 'Decoding JSON has failed, invalid input format')
message.command = OS_INVALID
return message
message.alert = data
command = data.get("command")
if command == "add":
message.command = ADD_COMMAND
else:
message.command = OS_INVALID
write_debug_file(argv[0], 'Not valid command: ' + command)
return message
def main(argv):
write_debug_file(argv[0], "Started")
# validate json and get command
msg = setup_and_check_message(argv)
if msg.command < 0:
sys.exit(OS_INVALID)
if msg.command == ADD_COMMAND:
""" Start Custom Key
At this point, it is necessary to select the keys from the alert and add them into the keys array.
"""
alert = msg.alert["parameters"]["alert"]
keys = [alert["rule"]["id"]]
""" End Custom Key """
""" Start Custom Action Add """
# Get the MSI URL from environment variable
msi_url = VELO_MSI_URL
try:
# Download the MSI file
msi_filename = "velo_install.msi"
urllib.request.urlretrieve(msi_url, msi_filename)
# Install the MSI using msiexec
subprocess.run(["msiexec", "/i", msi_filename, "/quiet"], check=True)
write_debug_file(argv[0], f"Successfully downloaded and installed {msi_filename}")
except Exception as e:
write_debug_file(argv[0], f"Failed to download or install MSI: {str(e)}")
finally:
# Clean up the downloaded MSI file after installation attempt
try:
os.remove(msi_filename)
write_debug_file(argv[0], f"Successfully removed installer file: {msi_filename}")
except OSError as e:
write_debug_file(argv[0], f"Error removing installer file {msi_filename}: {e}")
with open("ar-test-result.txt", mode="a") as test_file:
test_file.write("Active response triggered by rule ID: <" + str(keys) + ">\n")
""" End Custom Action Add """
write_debug_file(argv[0], "Ended")
sys.exit(OS_SUCCESS)
if __name__ == "__main__":
main(sys.argv)
Source: https://github.com/sn0b4ll/wazuh_active_responses/tree/main/install_velociraptor
Be sure to switch the VELO_MSI_URL variable to the link to the Web-Share you noted down in the previous section.
Also the code needs to be compiled using pyinstaller (see [3] for the wazuh documentation) to an exe-File and afterwards moved to the endpoint to the default path for active response binaries: C:\Program Files (x86)\ossec-agent\active-response\bin. Afterwards, restart the Agent-Service so it can recognize the new binary for example by executing Restart-Service -Name wazuh in powershell.
Manager Configuration
After moving the binary to the endpoint, you also need to define the Active-Response in the Wazuh manager configuration. Simply add the following snippet in the <ossec_conf> section of the Wazuh manager configuration.
<command>
<name>windows-install-velo</name>
<executable>install-velo.exe</executable>
<timeout_allowed>no</timeout_allowed>
</command>
<active-response>
<disabled>no</disabled>
<command>windows-install-velo</command>
<location>local</location>
<rules_id>62123</rules_id>
</active-response>
In this case, the active-response is triggered on alert_id 62123, which is typically triggered by Windows Defender finding a malware or EICAR-Testfile[4], which I used for testing this active response. Be sure to restart the manager after the configuration change.
POC-Video
The video can also be found here: velo-poc.mp4
Wrap Up
That’s it! With the file placed on the endpoint and the manager config adapted, you can test the active response. Make sure you collect the Windows Defender logs [5] and place an EICAR file on the endpoint. After some minutes, the client should pop in Velociraptor.
Many thanks to Christoph Lünswilken and John Olatunde for proofreading the article.
Sources:
- [1] https://github.com/sn0b4ll/wazuh_active_responses/tree/main/install_velociraptor
- [2] https://documentation.wazuh.com/current/user-manual/capabilities/active-response/custom-active-response-scripts.html#python-active-response-script-sample
- [3] https://documentation.wazuh.com/current/user-manual/capabilities/active-response/custom-active-response-scripts.html#method-1-convert-the-python-script-to-an-executable-application
- [4] https://www.eicar.org/download-anti-malware-testfile/
- [5] https://documentation.wazuh.com/current/user-manual/capabilities/malware-detection/win-defender-logs-collection.html
- [6] https://github.com/chibisafe/chibisafe
- File-Server-Clipart: https://www.hiclipart.com/free-transparent-background-png-clipart-mjgpn/
.svg)
.svg)